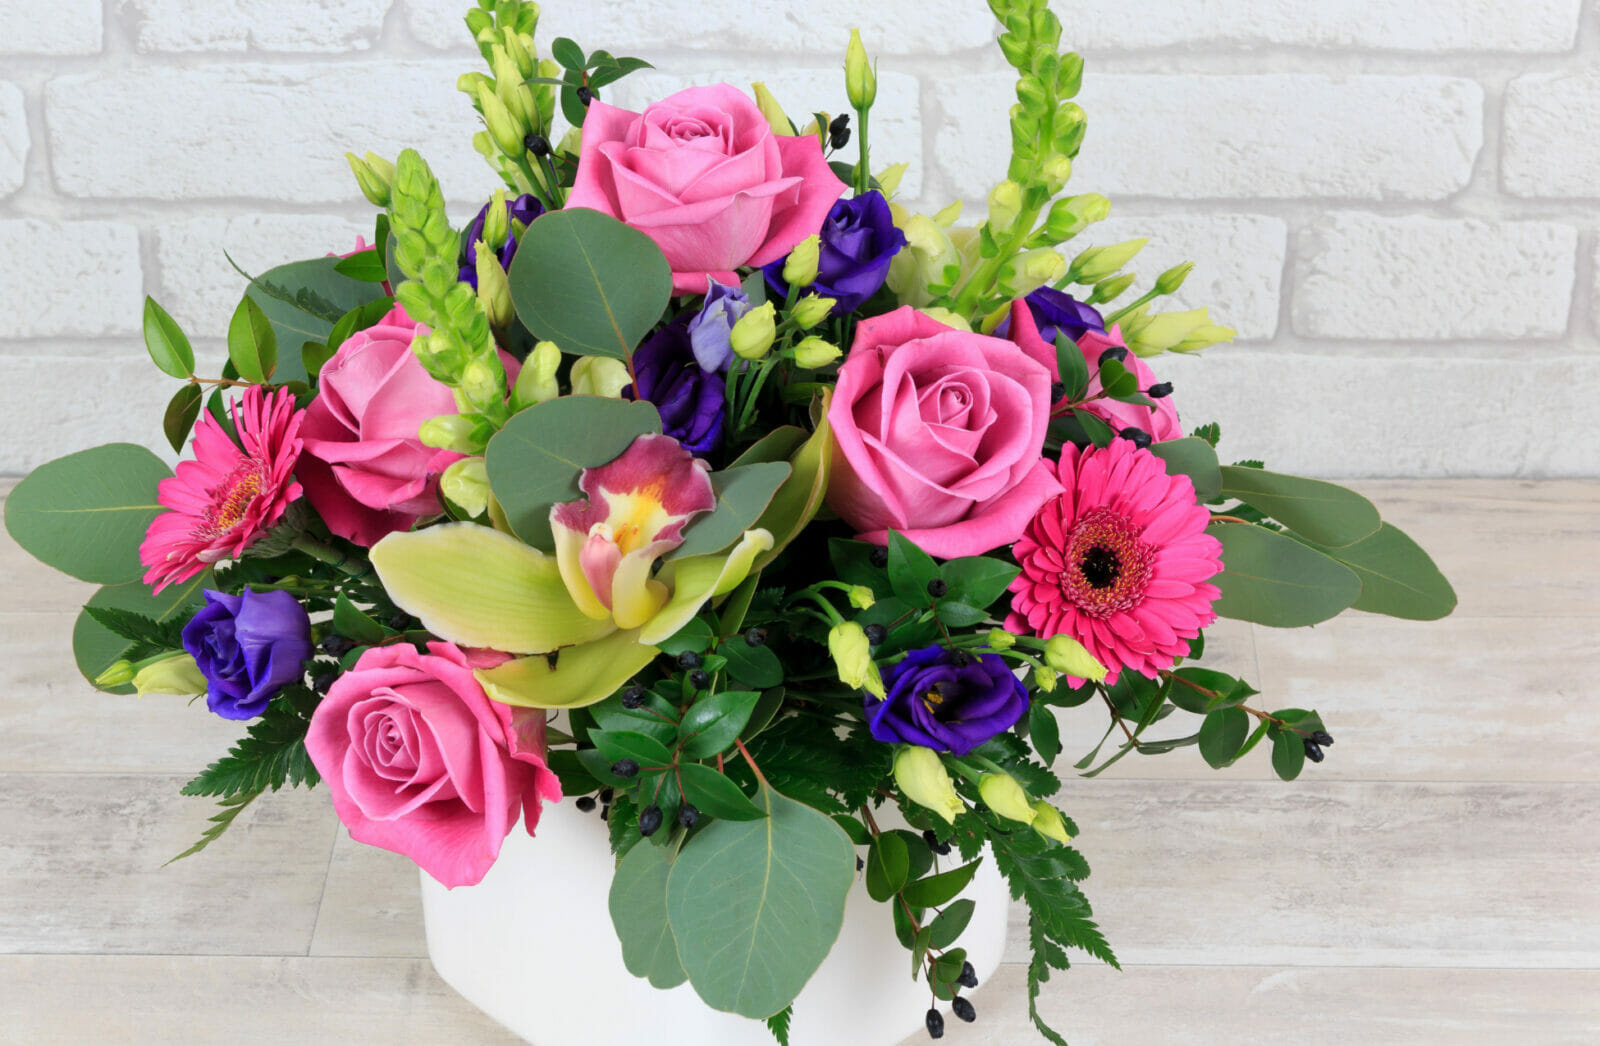
Have you always wanted to take up floral arranging? Today is your lucky day! Floral arranging is a popular senior living activity for a reason. It’s easy to get started and guaranteed to create something beautiful. Here’s a quick guide on how to get started with floral arranging.
Step 1: Gather Your Materials
Floral arranging doesn’t require a lot of materials, but you’ll need some key things to get started.
First of all, flowers! You can use real flowers or faux blooms. Nothing beats the beauty of fresh flowers, but real flowers tend to be more expensive, and they don’t last as long. You can create fabulous lifelong bouquets with inexpensive faux florals from your local craft store, big box store, or even a dollar store.
Next, you’ll need a container to keep your arrangement in. A vase is the obvious choice, but get creative! You can use anything from a mason jar to an antique pitcher. These things can also easily be purchased at a variety of stores near you, or online retailers like Amazon.
Finally, gather your accent materials. Are you going to tie a ribbon or two around your arrangement, jar, vase, or other container? If you’re using faux blooms, floral foam (the dense green stuff found in the floral department of most stores) can be helpful to keep your flowers where you want them. Just cut it to size and place it at the bottom of your container. If you are using a glass or other transparent container, you may want to use more attractive container fillers, like colorful glass gems. Real arrangements will also require floral tape for best results.
Step 2: Assemble Your Arrangement
It’s time to put all of your materials together into something beautiful. For a faux arrangement, start by cutting your floral foam and placing it in the bottom of your container, or add some of your gems or other container fillers. Next, stick your flowers and leaves into the foam or filler. Most of these are made with wires inside so you can bend them any way you like. A good rule of thumb is to start with the largest items first. For example, if you’re using any larger branch-type greenery, place that first. Then add your largest flowers, and continue adding progressively smaller blooms. Finish with some filler-type materials like baby’s breath, grasses, or stems of leaves.
A real flower arrangement uses a similar technique. But first, you’ll need to trim your stems (on a diagonal) and remove any damaged petals or extra leaves. Make them longer than you think you’ll need, because you can always cut more later. Instead of using floral foam, for fresh flowers you will use floral tape to create a grid pattern over the mouth of your container. This will help hold your stems in place as you do your arranging. Then add your greenery and largest flowers as a focal point. Add the rest of your flowers as you like. Make sure to finish your arrangement with fresh water and flower food.
Step 3: Admire Your Flowers!
Chances are, whatever you made, it’s beautiful. Anything you wish you did differently is just part of the learning process. You’ll know more next time. Floral arranging requires practice and some trial and error to find your personal flower style. No matter how your first few arrangements came out, you’re sure to be creating beauty every step of the way.
If you want to learn more about floral arranging, see if your senior living community is offering any classes! Considering senior living? Find and tour a Stellar community near you. If you don’t see floral arranging on your communities schedule, ask your activities director if they can plan a class for the future. Senior living communities are meant to be places where you can do the things you enjoy most, so they are usually happy to accommodate these requests.
Stellar Living wishes you good luck and happy flower arranging!


