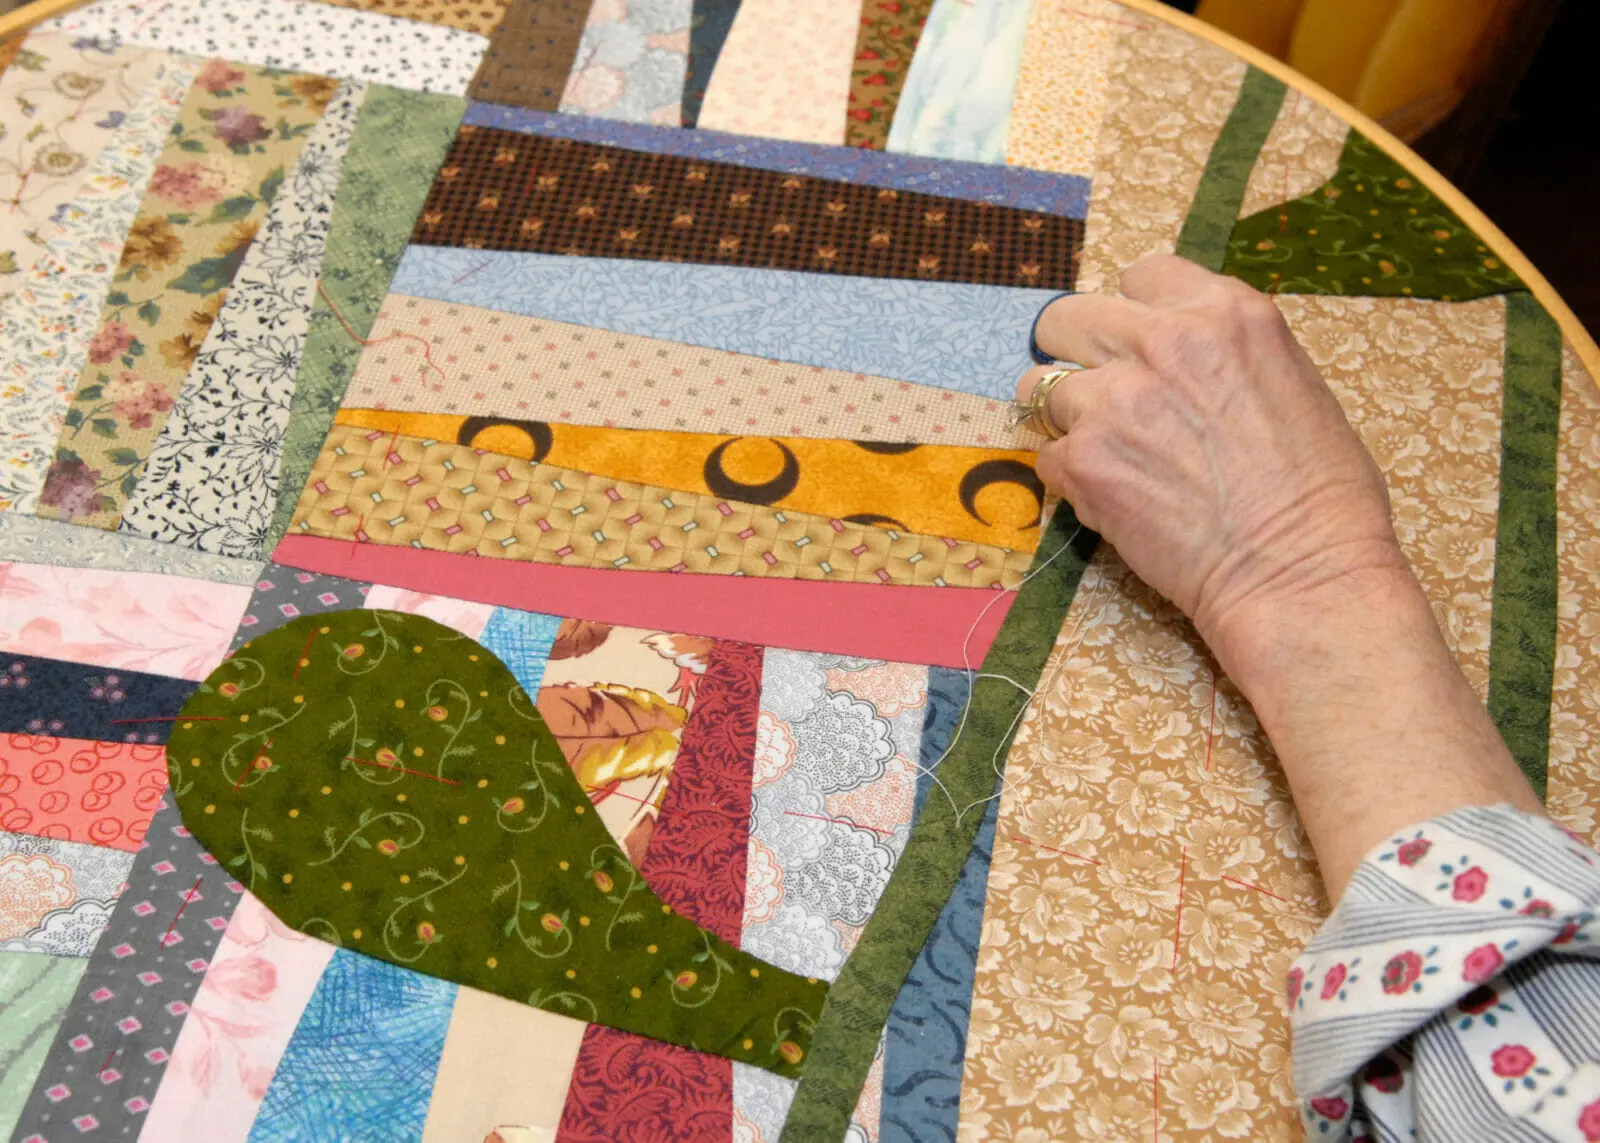
Are you a senior wondering how to get started with quilting? Quilting is a very popular senior living activity, and we all know hobbies and interests are especially important in your retirement years. Quilting is creative in a way that could help prevent dementia, and can also be a great source of joy as you give your quilts to others. But it can be intimidating to get started, especially if you don’t know how to sew. If you’re a senior who is interested in getting started with quilting, this post is for you! Here’s a quick guide to quilting for seniors.
Step One: Sewing Skills
In order to make a quilt, you’ll need a sewing machine and the ability to sew. You might be surprised to learn that you don’t need a fancy machine or any special sewing skills! If you can sew a (fairly) straight line, you can make a quilt.
To learn how to sew, you could attend a community class or even take a course at a community college (you might be able to even take this course for free as a senior!). You could also see if a sewing class is one of the activities offered at your senior living community. If you aren’t currently living in a senior living community, this is one of its many benefits! Classes like sewing and quilting could be offered right in your own neighborhood.
If you aren’t considering senior living at this time or can’t find an in-person class near you, you can also take a class online. Sewing classes are available on Skillshare and Masterclass. Masterclass and Youtube also offer a lot of free resources and tutorials, if you’re reasonably tech-savvy and up to teaching yourself to sew. If you don’t want to learn on a computer, you could also buy a book on beginner sewing, or check out a variety of books on sewing from your local library.
Step 2: The Right Materials
Once you have some basic sewing skills, you’ll need to make sure you have the right materials. Of course, you will need a sewing machine. Thankfully, there are lots of budget-friendly options available. Check out this list for some great sewing machine options for quilters that range from budget machines for under $200 to splurge-y machines at $1,000+.
You will also need some other basic materials like a rotary cutter with extra blades, a cutting mat (the bigger the better, in my opinion), small and large fabric scissors, seam rippers, acrylic rulers (for cutting), a “walking foot” for your machine, thread, pins and clips, and needles. This might sound like a lot, but these things aren’t expensive and don’t take up a lot of space. You can find all of this at your local fabric or crafts store or online.
Finally, you’ll need fabric! The fun of quilting is you can find so many colors and patterns both in-person at stores and online. Quilter’s cotton is the best choice for beginners. Get fabric for both the front and back of your quilt, and some batting for the middle.
Step Three: Plan & Execute Your Quilt
Once you know how to sew and have your materials, it’s time to decide what kind of quilt to make. Most beginners do best with smaller quilts, like those that can be used as table decorations or place mats. Simple shapes like squares or rectangles are best for beginners, too. You can find a free list of easy quilt patterns here.
Once you have a plan for your quilt, it’s time to get started making it! Cut your fabric and piece together your quilt top, then sandwich the batting between your backing fabric and get out that walking foot to quilt it all together. Check out this guide for a detailed tutorial of this process.
Quilting is easier (and more fun!) than it looks! There are many benefits of quilting for seniors. Stellar Living hopes this guide will help you get started in this fun and creative hobby. If you’re considering senior living for the first time, check out this post on if senior living is right for you. You can also view our communities and schedule a tour today!


